A tutorial to make a papercraft initial(s). Of course you can spell whole names with it, but I suggest (strongly) to start with one letter en work you’re way up to you initials.
In this tutorial you don’t have to spend any money except for the paper you print it on.
It’s written for windows (sorry Apple users)
Shortcut to:
Programs | What are we going to build? | Step 1 | Step 2 | Step 3 | Step 4
Programs
For this tutorial you need a couple of programs, which are for free to get from the internet:
 Pepakura designer v2 .1.2 – program that creates flat versions of a 3d model
![]() Google SketchUp 6 – very simple 3d modeler
Google SketchUp 6 – very simple 3d modeler
Optional (I will explane this later): PDFCreator – creates PDFs from any Windows program
To name a view: Blender, Wings 3D, Metasequoia and there are probably a lot more.
The only reason I choose for Google SketchUp because I got it to work in a couple of minutes…
Google SketchUp is freeware, PDFCreator is open source (free) and Pepakura designer is shareware.
So the only limitation you have is Pepakura designer: in the version you can download and try out, it’s not possible to “Save” and “Export”. But I found that it’s possible to print, so a legal way to export what you have build in Pepakura is PDF.
This has of course some limitations, and the biggest one is you are not able to save you changes (which you can unlock for a lousy US$38).
What are we going to build?
![]()
Lets make a text logo and I really want to use the logo I made a while back, but I realize that’s not for everybody….So lets make a logo out of freeware fonts, and find a font suitable for what I want.
I want to make a 3d version of mck and because I know how difficult it is to create round corners (“c”) I am looking for a bold/stong blocky font .
We could make a complete text logo, but when I started writing this tutorial I found out that with more then one letter, it started to be quite complex. Which is not bad, but quite difficult to point out how things work. So for this tutorial I will explain just one letter and we will make it 3d.
Step1: download and install
Except the programs discussed above (Pepakura designer v2.1.2, Google SketchUp 6 and PDFCreator) you also have to choose a nice font to create your initial/character in.
So lets search a nice letter with a nice “M” or “m” (or whatever letter you want).
For example a couple of font of dafont.com/:
Cowboys – big/strong and very little curves
Kroftsmann – big / strong and no curves
Aerojones nf – big / strong and round courners
But make this tutorial even easier I have chosen for a pixel-font from 04.jp.org named 04b-19.
![]()
Download the font(s) you want to use, and copy it in:
C:\WINDOWS\Fonts
Step 2: Modeling in 3d
This is easier then it sounds so lets do it in little steps:
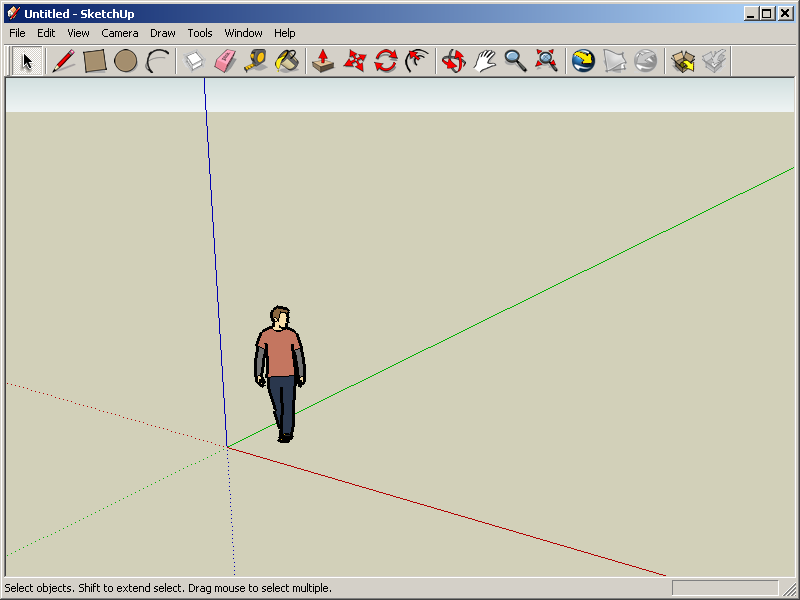
| 1. |  |
Start Google Sketchup You will see a little dude just standing there, forget him. He is there just for the scale purposes and will not be seen in your end result. |
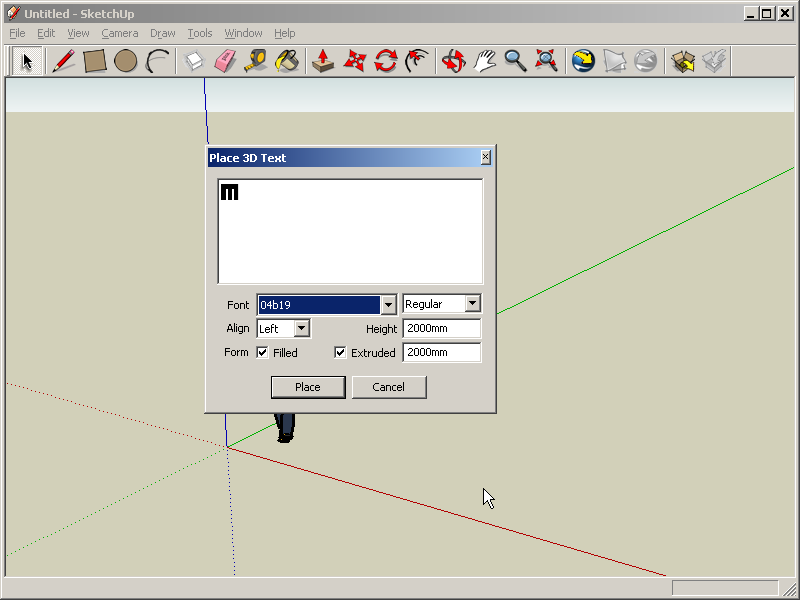
| 2. | ![Google Sketchup - Tools > 3d Text’ /></td>
<td>Goto: <a href="http://www.matthijskamstra.nl/blog/wp-content/uploads/googlesketchup_02.png" rel="flashbox[papercraftcharacter]" title="Google Sketchup - goto Tools - 3d Text">Tools – 3d Text</a></td>
</tr>
<tr>
<td>3.</td>
<td><img src=](http://www.matthijskamstra.nl/blog/wp-content/uploads/googlesketchup_02.thumbnail.png) |
Find your font and change the Height and Extruded (when I doubt: try to follow the picture) |
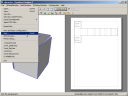
| 4. | 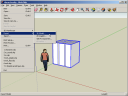 |
Press on place and place the character. |
| 5. | |
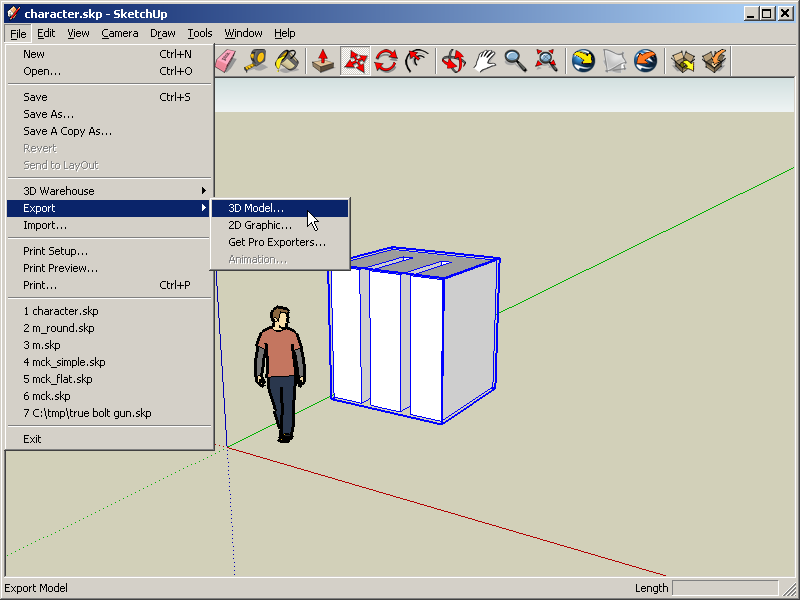
That’s all to it. Now save your file: for example “character.skp” and export to character.kmz (google earth 4) Pepakura Designer can open .KMZ files but they have to be google earth 4! |
Step 3: create papercraft
It’s too easy will the get difficult? No!
| 1. | 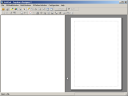 |
If you’ve done what I asked, you have Pepakura installed (and if not, now is the time). Open Pepakura |
| 2. | 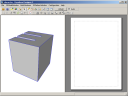 |
Open the character.kmz file you just saved on you’re hard drive |
| 3. | 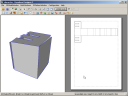 |
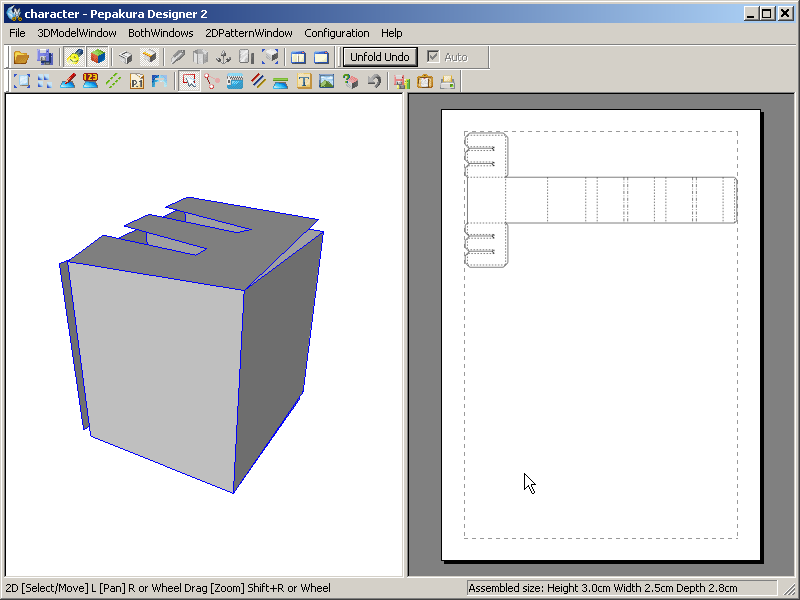
Oke lets see what Pepakura does with this simple example: press “unfold’ Yep, it’s that easy! |
| 3a. | 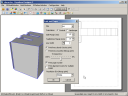 |
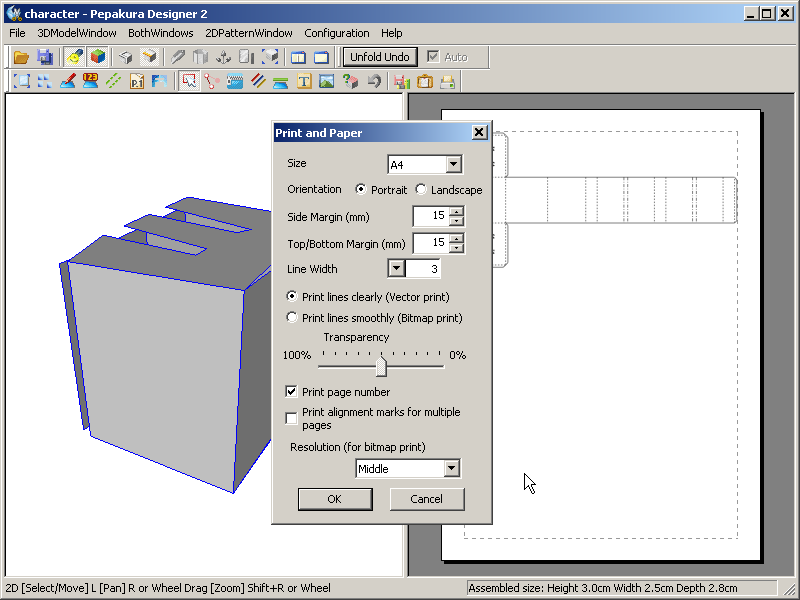
Make sure that you change the default print setting, this will improve the quality of your print and makes it possible to import in Illustrator. Papakura – Print and Paperconfiguration |
| 4. |
 |
Start you’re printer….. jadajada, you know what to do: Press file – print (prepare to export to PDF read this) |
Step 4: start building
Grab you’re glue and scissors and start building.
Export
This is for people who want to “export” the papermodel/papercraft to a file and modify it in a vector program like Illustrator. (Perhaps Inkscape will work too, but I don’t have that installed)
Instead of printing the model to paper, you can print it to .PDF. And this file is easy to import in Illustrator.
The only thing that you have to do is install: PDFCreator.
This program is opensource (doesn’t cost anything) and works the same as your printer.
Instead of printing to a printer, which is connected to you computer or network, you print to PDFCreator. And this will create a PDF for you on you’re computer.
 This is something I wanted to create, but now I find out it already exists… bad for me & good for me, and you: it combines two hobbies: papercraft and one of the-four-elements-of-hiphop: graffiti.
![[1]](http://www.allcitystyle.com/images/art/news/Kieth%20Corcoran%20paper%20redbird%2001.jpg)
![[2]](http://www.allcitystyle.com/images/art/news/Kieth%20Corcoran%20paper%20redbird%2002.jpg)