Categories
Flash Flash experiments

Flash experiments: amazing tube

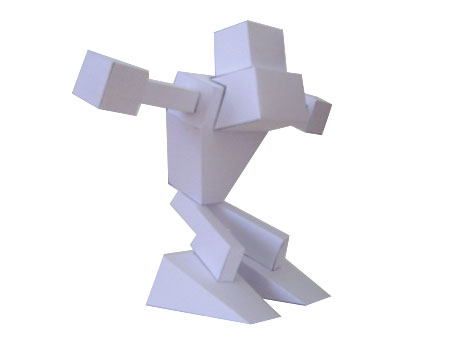
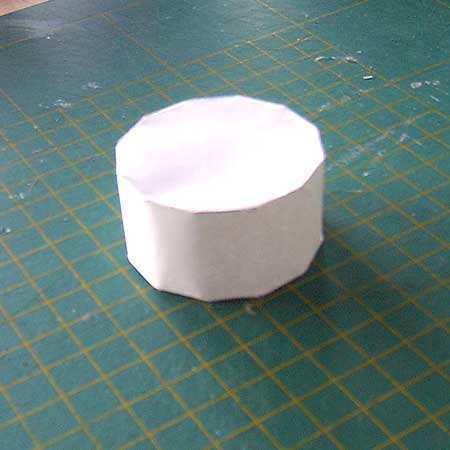
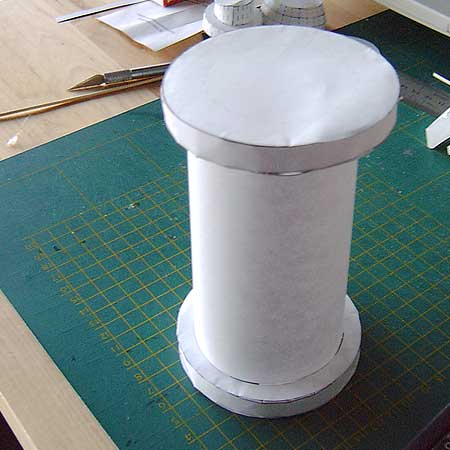
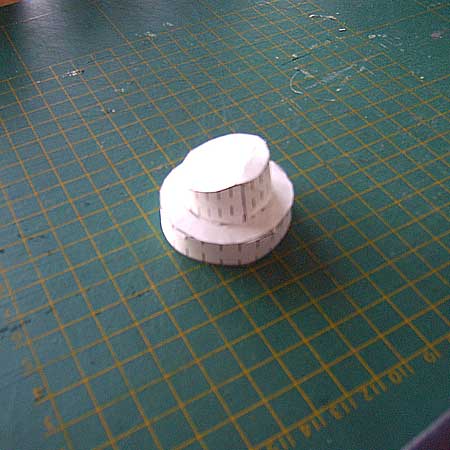
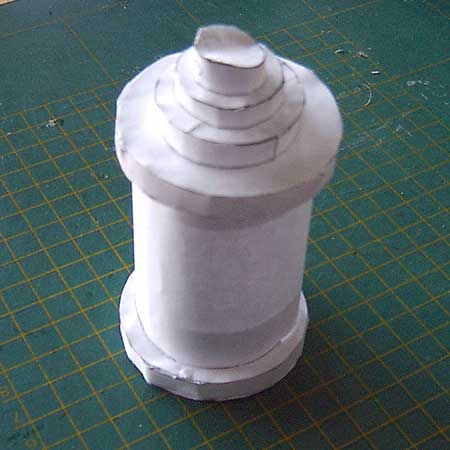
I was experimenting with Google SketchUp 6 and Pepakura designer v2 .1.2.
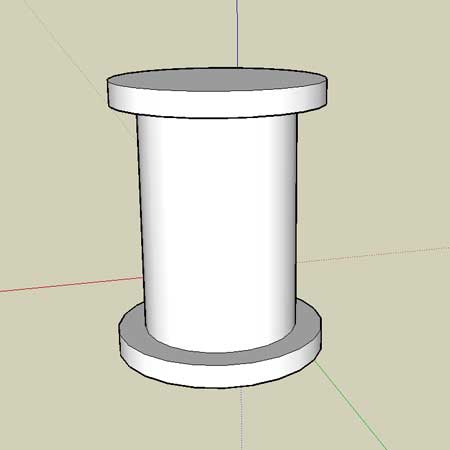
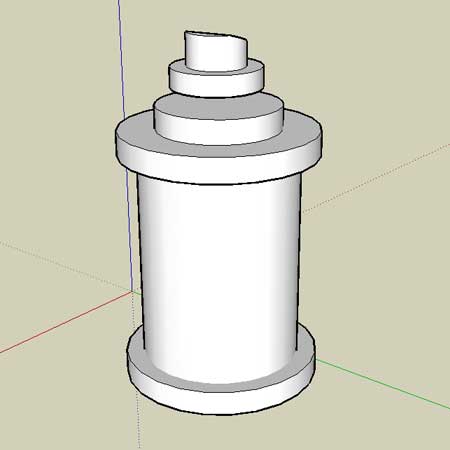
And I saw in the Pepakura a pattern when creating tubes.

Update: it not only creates tubes (example: 15 sides) but also cubes (4 sides) and prism (3 sides)

And off course I couldn’t resist building it in Flash:

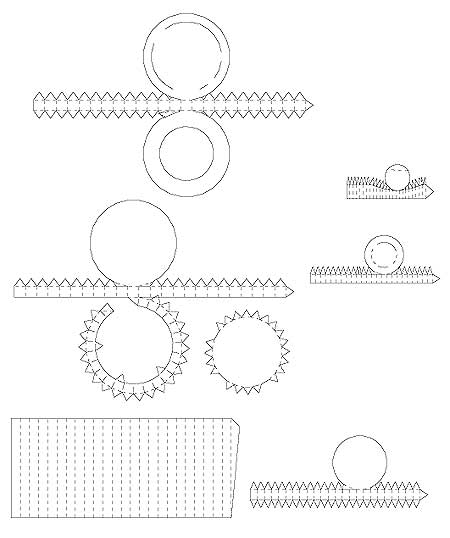
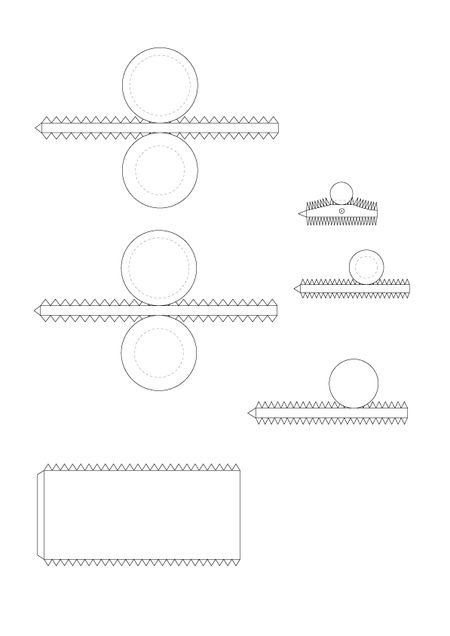
And in this case it’s a flash application that creates flat, printable versions of cubes tube. Just print it, cut it out, glue it together and there you have it: the amazing cube tube:

[swf]http://www.matthijskamstra.nl/laboratory/swf_experiments/amazingTube_v01.swf,450,450[/swf]

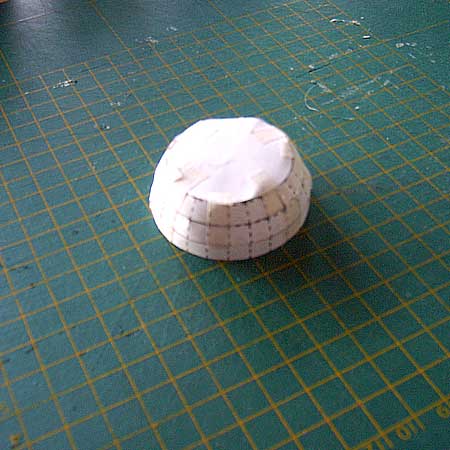
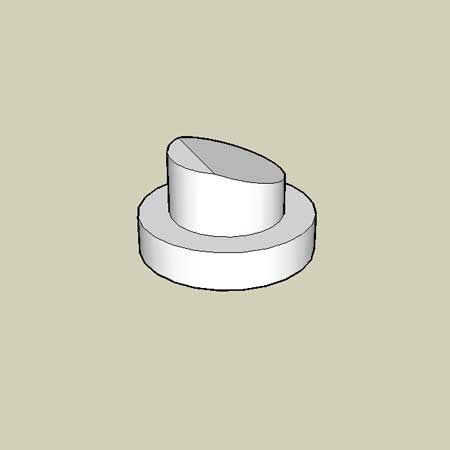
I have made something similar: the amazing cube.
I’m working towards something????

Categories
Design Grumm Urban papercraft

Grumm update

Grumm has now it’s own page on this blog: visit Grumm and read more about download and custom Grumm papercraft.

I’ve not been working on Grumm for I while, but I did find some time to put different files online so you can build/customize it.

Grumm The Screamer Red can be downloaded here.
Grumm The Screamer Red

And for custom Grumm designs; there is also a blank template which can be downloaded here.
Grumm Blank

Visit the Grumm page for more information and downloads.

The page needs some work, but I hope this will start some feedback about the templates and design.
So start building/customizing Grumm…

Because I’m swamped with work I haven’t got time to create a nice page. This page is more an update for people who wanted to build a Grumm, and now they can.
Categories
Design Urban papercraft

Papercraft prototype: Spraycan – part 4

After I cleaned up the files produced by Pepakura with Illustrator I could test the prototype.

If you look closely to the previous post about this project, you see that I don’t have a screenshot from the rounded part on top of the can. This is because I couldn’t get it to work in Google Sketchup… So I decided to make a globe in 3d, make a flat version in Pepakura and edit it in Illustrator (cut parts away I don’t need).

Here a the different parts I tested:

The tube
Spraycan WIP Tube

The can
Spraycan WIP Can

The cap
Spraycan WIP Cap

The round part of the can…
Spraycan WIP roundtop
I don’t think I will be using this part: it’s to detailed for this project. And quite difficult to make, when printed on a A4 papersheet.

The Spraycan complete
Spraycan WIP Complete
So without the curved part, this will be the look.

Categories
Design Urban papercraft

Papercraft prototype: Spraycan – part 3

I imported the .KMZ file made by Google Sketchup, which I made in part 2 of this series, to Pepakura designer and I wasn’t totally happy with the end result:

Spraycan - Pepakura

I contribute the in some cases strange “decisions” from Pepakura to:
– my very basic modeling skills (I have none)
– Pepakura can’t think like a human… (It just works like a machine) and makes strange decisions.
– I made the 3d model in one part.

I tried to clean up the 3d model, but I was getting nowhere. So I decided to clean up the file in Illustrator:
Spraycan - Illustrator

Time to put it all together!

Categories
Design Urban papercraft

Papercraft prototype: Spraycan – part 2

Time to convert the illustration from part 1 into a 3d object in Google Sketchup:

First the bottom of the can:
Spraycan bottom
Created a separate cap:
Spraycan cap
Putting it together:
Spraycan in Google Sketchup

Time to convert this to a flat, printable version using Pepakura designer